Happy to share this guest post I wrote for the Calluna Events’ Blog on the Dos & Don’ts of Sending Wedding Invitations. These are my top five tips for sending your wedding invites with confidence:
1. ADDRESSING
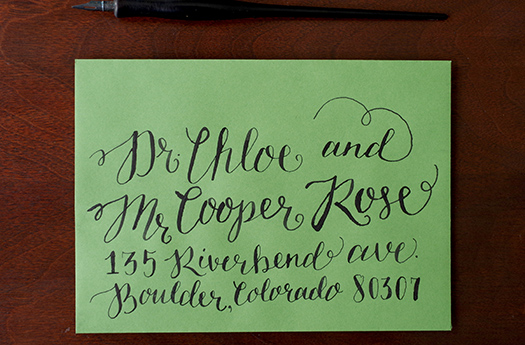
Do write out your guest’s addresses by hand.
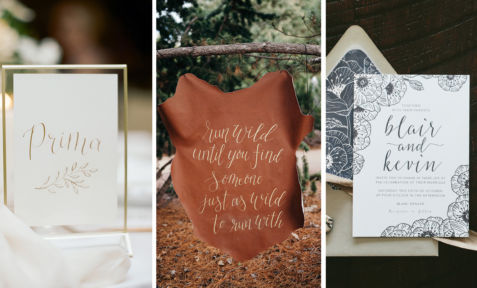
Addressing by hand is a personal touch for your invitations that sets a warm, inviting tone for the event. Hate your handwriting? Hire a calligrapher or even a fun hand-lettering artist if you are going for a modern, playful vibe.
Don’t use adhesive labels.
Adhesive mailing labels have a time and place but your wedding invitations are not traditionally one of them. That said, I have seen them used with very contemporary or minimalistic invitation suites and they do coordinate beautifully. Use adhesive labels purposefully and not because you’re trying to save time.
2. WHO TO ADDRESS
Do use proper titles.
Titles are always important, but particularly necessary to include when the guest has a distinguished title such as doctors, judges, or military personnel. Your guests have earned these titles and it is disrespectful to forgo including them. When in doubt, ask before addressing!
Don’t write “and guest” for long term significant others.
Inviting a non-married friend with a long-term (typically over a year) or live-in significant other? Please learn their significant other’s name and include it on the envelope! Writing “and guest” instead of their name can be insulting to the sincerity of their relationship.
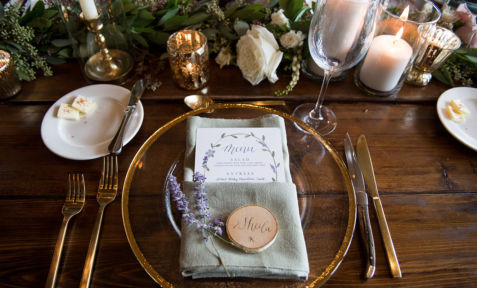
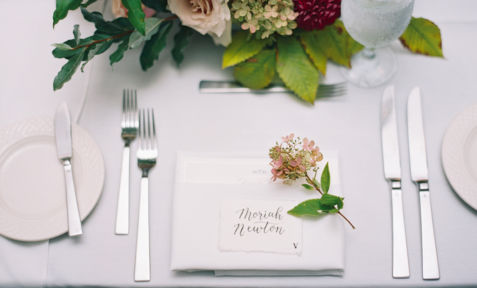
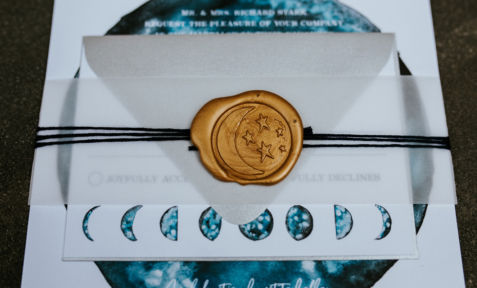
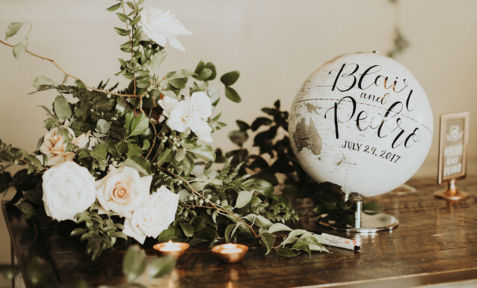
3. ASSEMBLY
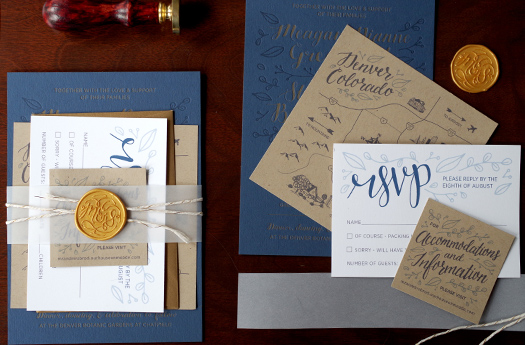
Do stack largest to smallest.
Traditionally your invitation is on the bottom, followed by the reply envelope and response card on top. Inserts such as reception cards and maps should be stacked accordingly depending on their size. Have more than a couple inserts? Pocket folders are a great way to organize all of those pieces.
Don’t wait until the last minute to assemble.
Assembly takes longer than most people realize. I recommend giving yourself at least two weeks for addressing and assembly; even longer if you have extras such as pocket folders, belly bands, wax seals, etc.
4. TIMELINE
Do mail 6-8 weeks before your big day.
Wedding planning timelines can be chaotic. Remember to send your invites 6-8 weeks before the big day. I always recommend a little longer (roughly 8-10 weeks) for destination weddings or if you are expecting a lot of out of town guests.
Don’t ask for a reply within a week of when you mail.
Give your guests enough time to make a decision. Make your RSVP by date 2-4 weeks before your wedding date. This should not only give you enough time to track down those who don’t respond (there are always a few) but also allows enough time to give a final head count to the caterer, finalize your seating chart, and provide guest names to your stationer for escort cards.
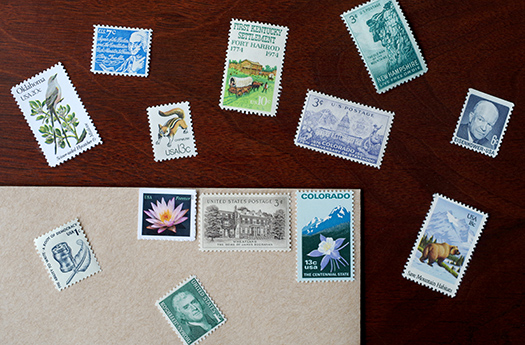
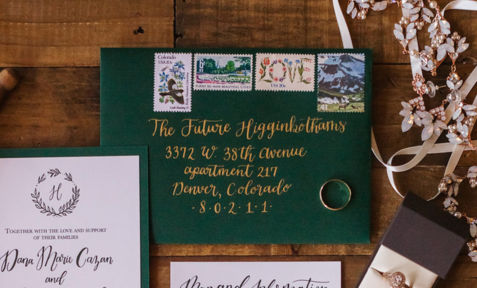
5. POSTAGE
Do include postage on your reply envelope.
Make it as easy as possible for your guests to RSVP by including a stamped envelope with your invitation set. Budget savvy tip: postcards require less postage than a reply card and envelope. The savings is roughly 13 cents per reply, but that can easily add up if you have a large guest list!
Don’t guess on the postage needed to mail your invite set.
Bring an assembled invitation set with an envelope and all inserts (reply, maps, etc.) to the post office and have them calculate what postage will be needed. Want something different? My favorite thing right now is mixing vintage postage in with modern designs for an eclectic and unique look.